Sugaring retrospective
Making maple syrup from our silver maples. The process of collecting maple sap and boiling it to make syrup is called sugaring. We’ve been sugaring since 2020.
Tap the trees > collect the sap > boil the sap > finish the syrup.
2023 sugaring by the numbers
- 10 days from tap day to boil day
- 10 hours to boil and finish
- Warming inside started at 10 a.m. and it took 40 minutes to get pots up to temp to move outside.
- Syrup processing was done at 8 p.m.
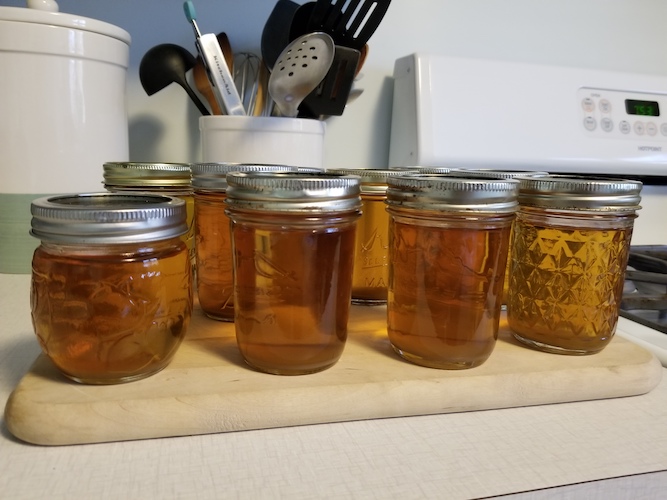
- 10 cups of syrup, in jars and ready for cooking, baking, and cocktails.
- We started with approximately 15 gallons of sap (we collected another gallon+ on boil day).
Review
This winter (2022-23) was snowy. Like third-snowiest-winter-on-record snowy, though we had milder than normal temperatures.
Tap the trees
March 1, I posted on a local gardening Facebook page asking if it was time to tap in the Twin Cities metro. Predicted daytime temperatures were above freezing. Most replies said wait for temps in the 40s Fahrenheit during the day, freezing overnight.
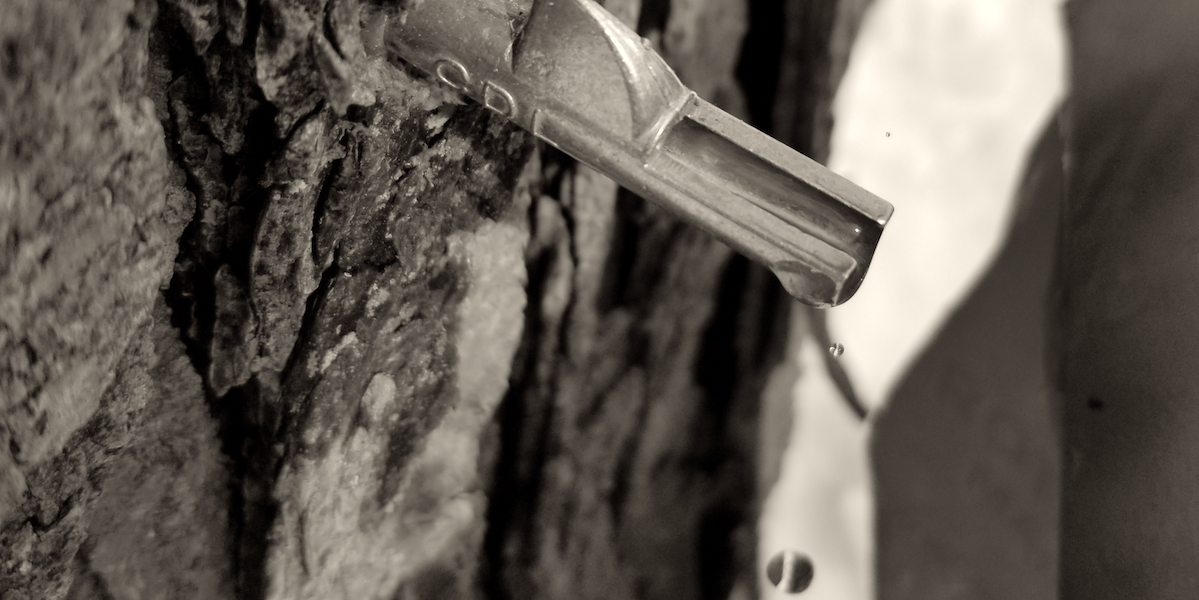
March 15, we tapped our two giant front-yard silver maples with two spiles each, though they are big enough to support three. High temp on March 15 was 42 degrees F, and the sap was definitely running. Then March 16 there was a winter storm with rain turning to snow and cold and sap slowed for a few days.
Tapping notes:
- Prefer the south side of the tree. This is getting difficult due to previous tap holes.
- Tap above a large root or below a branch. Too much snow to see roots, but we did try to place under branches, which may have been helpful.
- Tap 2 to 4 feet above ground-level. Deep snow made this hard to judge.
- Tap 6 inches from previous taps. Though the trees are large, it’s getting harder to avoid old tap holes.
- Timing was ok, not perfect. We’ve had worse timing for collecting sap in previous years.
Collect the sap
The week of March 20 was warm and by Saturday, March 25, we had about 14 gallons, enough to boil.
Collecting notes:
- Collect in sap bags, which we sanitize before using.
- Empty the bags daily, or more if needed, into sanitized 5-gallon food-grade buckets.
- We store the covered buckets in a cold garage until we have enough to make it worth the effort to boil.
- We decided to stop collecting at 3 buckets (15 gallons). This worked well and we didn’t have to pour any out into the compost pile this year. If we had, we would have poured out the oldest sap and used the freshest.
Boil the sap
We invited our urban-farmer friends over to show them the process. Luckily March 25 was a nice spring day. It was a fun, if long, day.
Our boiling process
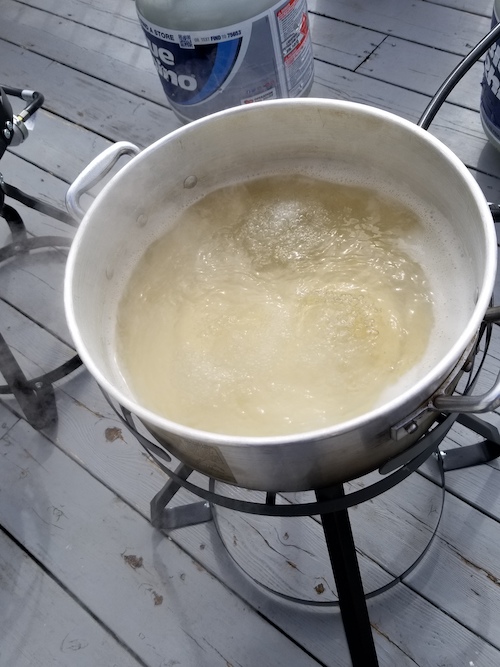
We boil the sap outside on outdoor propane burners.
- Boil a pot of water inside on the range and note the temperature. It will be somewhere around 212 degrees F, but not exactly. Write it down and add 7.1 degrees, this is the boiling point of maple syrup and your target temperature.
- Filter the sap from the bucket into the pot. We use a home brew sieve, but cheesecloth would work.
- Warm the sap on the range to a boil or near inside and then move to outside burners to boil off.
- Continue to filter and warm the sap indoors, a few quarts at a time, and add it to the outdoor pots. Try to keep a continuous boil outside.
- Once the sap evaporates down and the color is golden, consolidate into one large pot outside.
- Check the temperature. When the temperature is above the boiling point of water, move the party inside to the range to finish.
Boiling notes:
- Make sure you have enough propane to run burner(s) for several hours. We did not run out of propane this year, though we finished one tank.
- Boiling sap generates a huge amount of sticky steam, this is why you would not want to do this inside your home.
- The wide and shallow aluminum pots used for outdoor fish fryers are perfect for boiling.
- The sap boiling off will leave a white mineral film on the inside of your pots. The burners will leave soot on the outside. Use old pots you don’t care about, and be prepared for a messy cleanup. I recommend washing in the laundry sink with Dawn and a green scrubbie or Chore Boy, use rags to dry.
Finish the syrup
It’s easier to monitor and control finishing on the stove top. Once the syrup comes to the correct temperature, it is ready to filter again and jar. I don’t know if it is necessary, but we use a water bath canner and process the syrup for 5 minutes. That is a whole other bunch of equipment, water, and steam, but safety first.
Finishing notes:
- Finishing syrup will still generate a great deal of sticky steam. If you have a vent, turn it on.
- If you are canning, take into account the amount of time it takes to bring water to a boil, sanitize jars and lids, and so on. We had to wait on the canning water to boil.
- If you have one, set a candy thermometer to 7.1 degrees F above boiling point of water and place it on your finishing pot.
Cocktail recipe: Mother Lode
A mapley version of a Gold Rush, christened by my Pops in honor of our silver maples and the lake we live on, Silver Lake.
Ingredients
- 2 ounces bourbon
- 3/4 ounce lemon juice, freshly squeezed
- 3/4 ounce maple syrup
Steps
- Add the bourbon, syrup, and lemon juice into a shaker with ice and shake until well-chilled.
- Strain into a chilled rocks glass over ice or a chilled coupe if you’re fancy.
- Optional. Garnish with a lemon twist.
References
“The Snowy Winter of 2022-23” - MN DNR
“How to Make Your Own Maple Syrup” - Lauren Arcuri, for detailed steps and more information
Recipe: Maple Caramel Hazelnut Sandwich Cookies you need these cookies in your life
Photos by Charity Fretty


